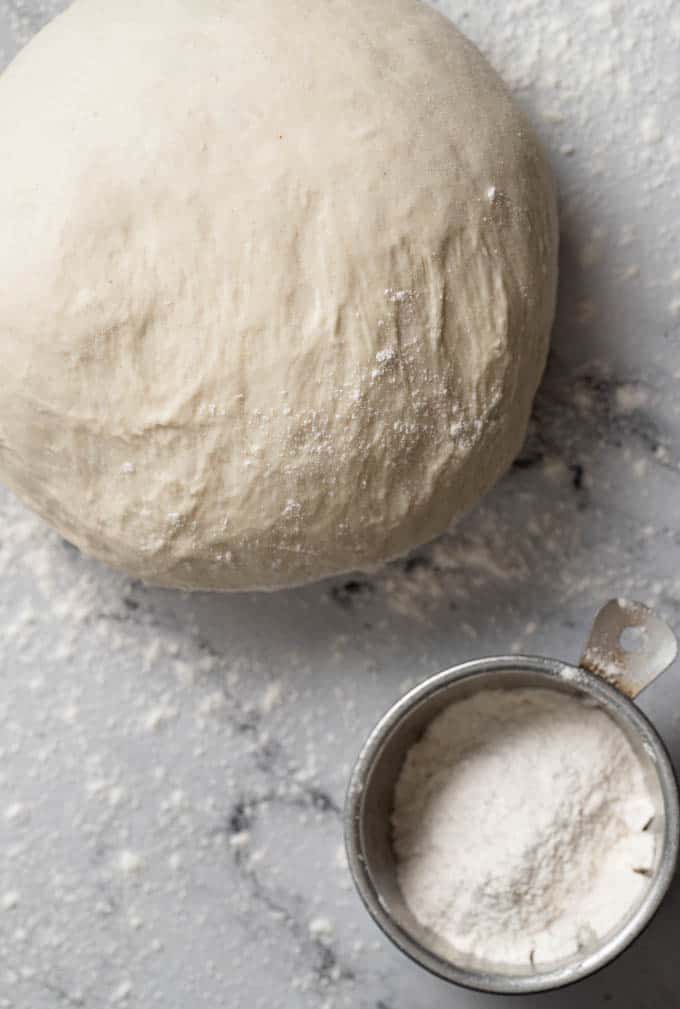
This Ultimate Dough recipe can be used for essentially ANY RECIPE that needs dough! Not only is it foolproof, customizable and simple to make, it only needs 6 basic pantry ingredients! What more could you ask for in a dough recipe?
Ultimate Dough Recipe
I have been counting down the days until I could share this recipe with you.
This recipe has been a staple part of my repertoire for years (16 years to be exact, I'm feeling a little old writing that..🥴) And it's been the hardest recipe to write, as with most bread recipes there are so many variables.
However, an ultimate dough recipe is one of those staple recipes that must be part of your repertoire that you'll memorize and perfect with time! It came to my attention just how important having a basic dough recipe is when one of my friends sent me a text asking for a really simple dough recipe that can be used for anything and everything.
We're talkin' pizzas, bread, rolls, bun and more...
All made with one basic dough.
Challenge Accepted!
An ultimate dough recipe coming right up!
I normally use a food processor or my stand mixer when making dough, but my friend also requested one she could make the dough without a machine to assist her. (she has limited kitchen space and doesn't want extra appliances in her kitchen) So, now the plot thickens my friends.
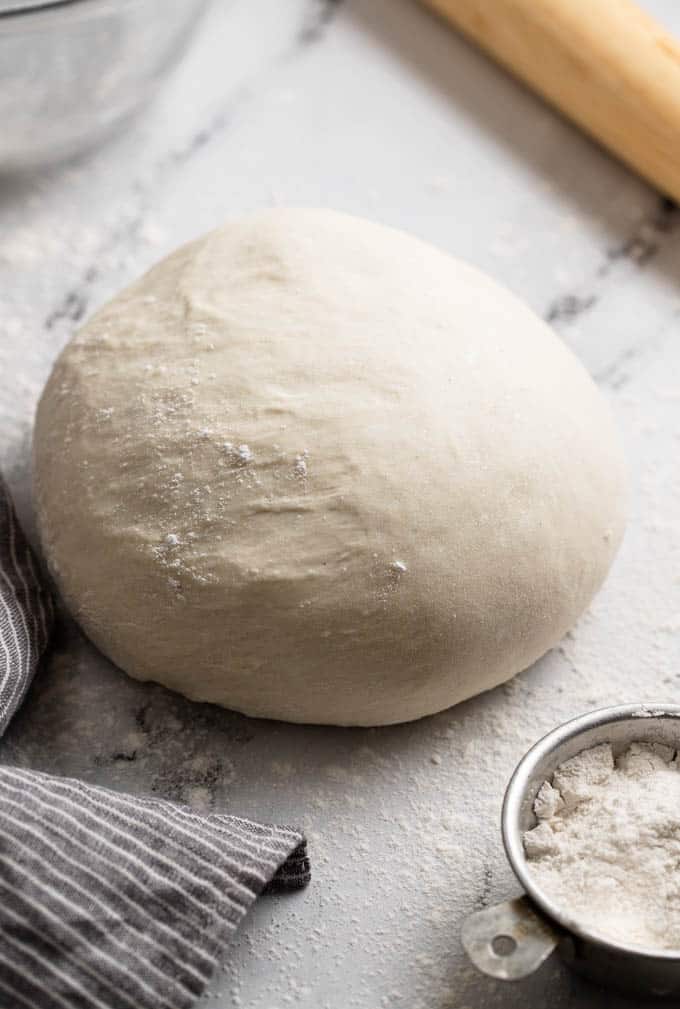
We need a dough that is;
- Simple
- Versatile
- Hand-made
No machine. No problem! That's how I first made bread, I didn't always have an amazing food processor or stand mixer. Actually, those things I bought much later, but in all honesty, they are time savers and strongly recommend everyone to invest in the best you can afford when it comes to a good blender, food processor, stand mixer and hand mixer that comes with attachments.
I'm challenging you to get your hands doughy in the kitchen and whip up a batch of this easy dough to make whatever your bread-loving heart desires. Even if you’ve never made bread before, or have only worked with yeast a few times, this recipe is basically foolproof! Promise. 🤞🏼
What You'll Need to Make an Ultimate Dough
- Flour: All-purpose four is the safest flour you can use, and it's probably already in your pantry. However, flour does change the taste and texture of the recipe you're making. You can change or customize the flour in this recipe to match what you're planning to make. We'll talk about that later in the FAQ section.
- Yeast: I prefer using instant yeast since it doesn't need to be bloomed. You can add it straight to the dough or water and start the recipe right away.
- Sugar: Don't omit this ingredient; sugar is essential! It's food for the yeast. You can swap regular sugar for honey or cane sugar.
- Liquid: In the recipe, I used water for the liquid; you can also use milk instead for a softer, sweeter dough. I've never tried making this dough with nut milk instead of milk, so I'm not if they would yield the same fluffy results. water is best in this cause scenario
- Fat: Depending on what you're making, you may need to choose different fats for the recipe. Olive oil is usually the recommended fat; however, if you're making Turkish pide or sweet dough (i.e. Cinnamon buns), you'll want to use butter instead for the best results.
- Yogurt: If you want the fluffiest and dare I say it, the most delicious tasting bread recipe you've tasted. Then yogurt is 100% essential! I've never tried to swap with a plant-based yogurt, I personally can't stand plant-based yogurt and I've tried so many kinds. It's just not my thing, if you do try it and it tastes great let me know in the comment below.
How to make the Ultimate Dough
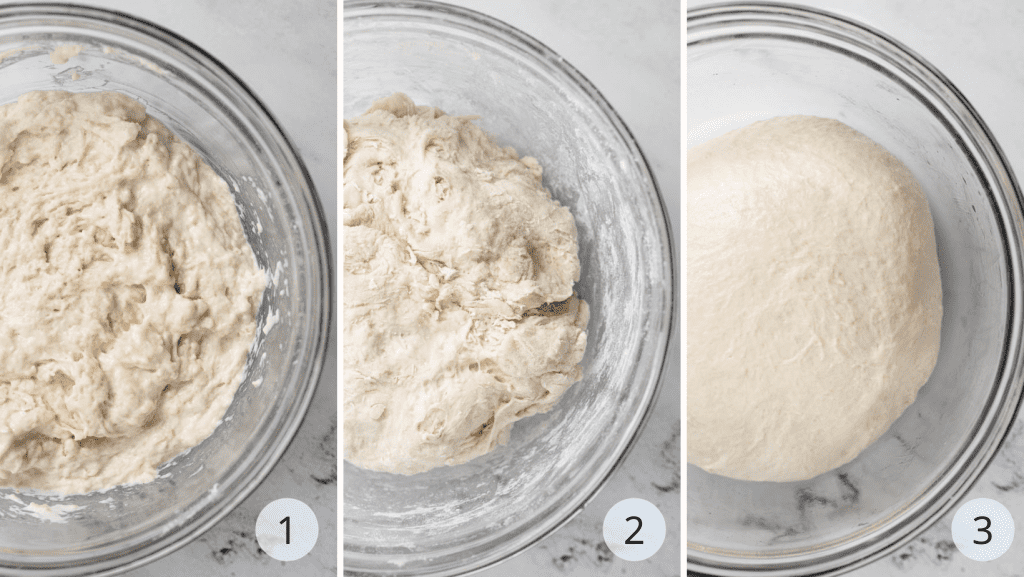
- Prepare a wet dough. Pour the yeast, sugar and warm water into a bowl. Stir it. Then add the oil and half of the flour to make a really wet, gooey, and clumpy mixture. Let it rest for 10 minutes.
- Slowly add the rest of the flour. Add just a bit at a time; too much flour will result in a tough dough. It's better to have extra flour than a tough dough; you can always add more flour well kneading your dough.
- Knead your dough. If the dough is WAY too sticky, then let it rest for a few minutes. Empty the dough onto a lightly floured surface and begin kneading until you have a soft, smooth dough. I found that when the dough is properly kneaded, it'll have a bread smell to it. Roll your dough into a ball, place it in an oiled bowl, and cover it with a clean tea towl. Let rise for about an hour to an hour and a half.
Tricks for Working With Dough
- Take it easy on the four. You only need enough flour to bring the dough together into a smooth, elastic, and cohesive ball.
- At first, the dough will be very tacky and sticky, but don’t worry. It will absorb a lot of moisture as it rests and rises. It’s better for the dough to be a little sticky at the beginning than it is to add so much flour and create dense and unappealing bread.
- It's alive! Dough is a living organism, and the conditions in your kitchen and the dough (humidity and temperature) can affect how it grows. So keep in mind that all dough recipes are guidelines. You may need more or less flour than the recipe states and more or less time to rise or bake.
Why do you need to knead dough?
When you mix wheat flour and water together, the proteins in the flour combine to form the gluten. The gluten is what gives bread dough the strength and elasticity to capture all the bubbles produced by the gas caused by the yeast. This is what grows the bread into the fluffy, chewy, and texture we know and love.
However, sometimes the magic happens all on its own, and for some breads like focaccia, all you need is enough water and time to develop the gluten. However, this is not the case for most dough recipes. In general, they need some help to get there—and that help comes from kneading the dough.
The amount of kneading always depends on the hydration levels and the characteristics of the bread recipe you're making. When you're kneading the dough, you’re not only developing the gluten, but you’re also lining up those gluten strands into a beautiful orderly structure that’s strong and tight.
For example, when making a loaf of bread or rolls the surface is smooth and the crumb is filled with tiny air bubbles. In contrast, when making a wet bread like focaccia the surface is bumpy and the crumb is filled with irregular holes and texture.
OK, OK, So How do I knead dough?
To Kneading dough, you push the dough away from you with the heel of your palm, folding it over itself with your fingers and pulling it back. You'll repeat this push-pull process until the protein strands are developed and form the gluten structure.
It’s important to read the directions carefully because recipes. Some may tell you to knead on a lightly floured surface, while others specify a surface with no flour at all. Additional too much flour can result in a tough dough and undesirable final result.
When you start to knead your dough it will be wet, sticky, and lumpy, but as you knead, it will grow smooth, supple, and springy—that’s how you'll know the gluten has developed and you can stop kneading. It's important to knead the dough really well because an under-kneaded dough won’t rise properly. It doesn’t have the strength and elasticity to capture the gases produced by yeast—it'll bake up dry, crumbly, and dense.
How does dough proofing work?
It's important to have a basic understanding of how proofing dough works. Why? Let me explain.
The yeast is very hungry and feeds on the sugar in the dough, and this creates a by-product of CO2 gas which is what makes the dough rise. Your job is to stop the rising process at the right time.
If you don't stop the rising process at the right time then the dough will become too full of gas and the gluten structure can't hold on anymore.
So how do we know when it's the perfect time to stop the rising?
Everyone will tell you that your dough should be double in size for the first rise, but there's a big problem with this! Unless you're raising your dough in a measuring cup you'll never know if it actually doubled!
Or you'll be given a time guideline but since the dough rising time can be affected by the temperature of the dough and the ambient temperature of the room. That's pretty useless too. It can leave the beginner bread maker in a bit of a pickle.
Welcome to the poke test!
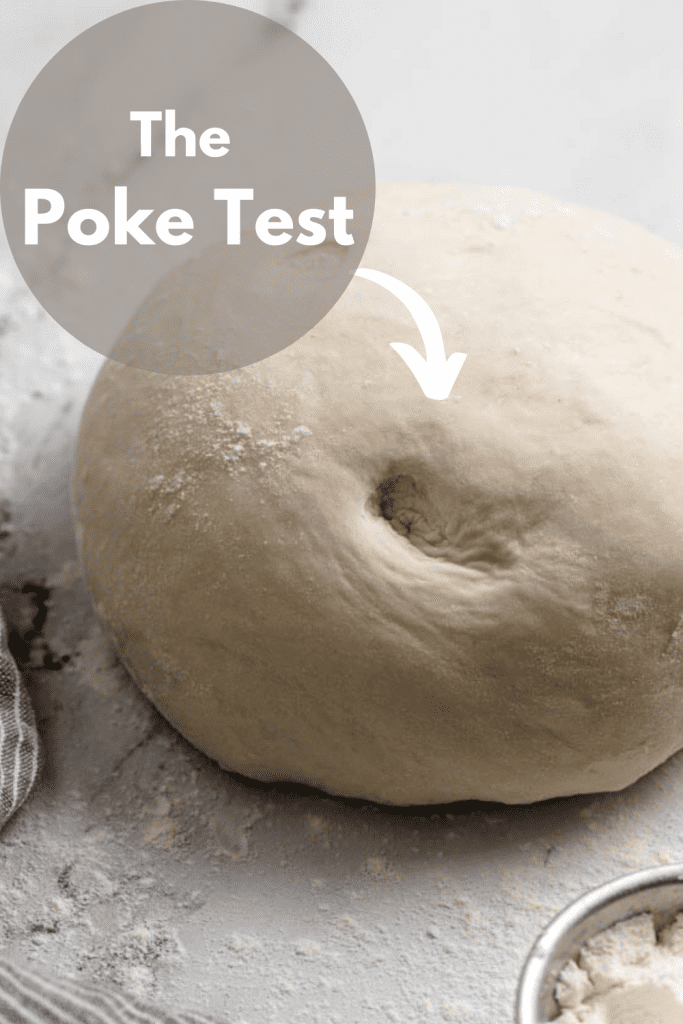
The poke test is the easiest guideline to making sure the dough is properly proofed.
- If you poke the dough and it doesn't make an indentation and is still firm ⏤ it needs more time.
- If you poke the dough and it makes a big indentation, doesn't spring back and is very airy⏤ it proofed too long.
- Now, if you poke the dough, it's soft to touch, make a small indentation and springs back well leaving behind a small indentation ⏤ its ready!
Remember this a guideline and not a rule! if you come across a recipe with very particular directions it's best to follow the recipe. However, if the recipe is vague. Use the poke test.
FAQs for Best Flours and Storage
Use 2 parts bread flour and 1 part 00 flour and omit the yogurt and you'll have the tastiest pizza dough.
Use half bread flour and half 00 flour or cake flour. Follow the rest of the foolproof dough recipe. You'll have some pretty delicious manakish you might even rival some of the local bakeries 😏
Use the all-purpose and swap the olive oil for butter and have a little extra butter to brush on the side of the pide during the last few minutes of baking for an extra authentic tasting pide.
The all-purpose is my preferred choice for sweet bread. I recommend swapping the water for milk and butter for the olive oil.
Of course! this is a multipurpose dough that can be used for almost anything.
Place in the fridge to dethaw. Once the dough is completely dethawed, allow it to come to room temperature and rise.
Yes! please do. Make a double batch of the recipe and freeze half.
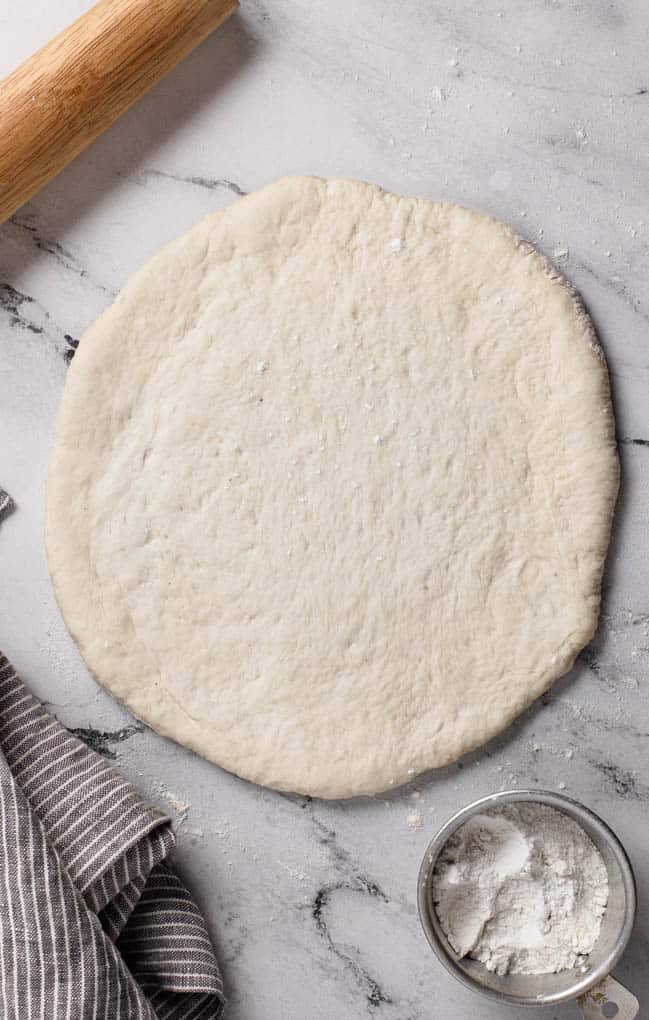
Important Notes For Making a Success Dough Recipe
For the best results weigh the flour with a scale!! Volume measurements are very unreliable for dough recipes.
All dough recipes should be viewed as a set of guidelines. Really use your sense when making the dough. That’s half the fun of it anyways! These variables can affect how long it takes to knead, rise, and bake. Here are some examples:
•Type and brand of flour (bread flour has more protein and will develop gluten more effectively)
•Environment (humidity, elevation, etc.)
•Kneading technique (if you’re strong and tall, it may take you less time to knead by hand)
Don't surprised if you have leftover flour when hand kneading⏤use only the flour you need to make the dough.
IF YOU LOVE MEDITERRANEAN RECIPES, subscribe to my newsletter and follow along on Facebook, Pinterest and Instagram for the latest updates and recipes.
ultimate Dough recipe

This Foolproof Simple Dough can be used for essentially ANYTHING that needs dough! Not only is it foolproof and easy, it only needs 5 basic pantry ingredients! What more could you ask for in a dough recipe?
Ingredients
- 1 ¼ cup (300 ml) water, (39-40ºC)
- 1 teaspoon instant yeast
- 1 teaspoon salt
- 1 teaspoon sugar
- 3 cup (420g) all-purpose flour
- 2 tablespoons (78ml) olive oil
- 2 tablespoons yogurt
Instructions
- Prepare the wet ingredients. Add warm water, yeast, sugar, and oil to a large bowl. Mix. (If using instant yeast there's no need to proof the yeast, just move on to the next step)
- Prepare the dry ingredients. In a different large bowl, add the flour and salt; mix really well. Using a scale to weigh the flour will yield the best results
- Make a wet dough. Add half of the flour mixture, into the yeast water. Stir the mixture with a spatula until the flour absorbed all the water. The mixture should look wet and clumpy. Let rest 10 minutes.
- Combine the wet with the dry flour. Add the yogurt, stir, then add the remanding flour gradually. When adding the flour gently knead the flour into the wet dough, with a spatula at first. The dough will be too sticky at first. With the addition of more flour, the dough will become soft on the outside and sticky on the inside. Only add enough flour for the dough to come together. You may NOT need all of the flour.
- Begin kneading the dough. Once all the flour has been incorporated, the dough should be soft yet a bit tacky slightly in the sticky inside. Empty the dough onto a lightly floured surface and knead until smooth and supple. If the dough is too sticky to work with add a little more flour and let it rest for 5 more minutes, then knead the dough again. Just remember the dough should be a bit tacky, so it will somewhat stick to your finger, but it will easily release. Whereas, a sticky dough won't come off your hands easily without washing your hands or by rubbing more flour on your hand and rubbing your hands quickly together until the dough falls off.
- Rise the dough. Once you've finished kneading the dough, shape the dough into a ball and place it inside of a greased mixing bowl. Rotate the dough in the oiled bowl so all of the dough is lightly covered in oil. Cover the dough and allow it to rise until your finger will make a dent in the dough, about 1 to 1 ½ hours.
- Poke test. If you poke the dough and it doesn't make an indentation and is still firm,⏤it needs more time. If you poke the dough and it makes a big indentation, it doesn't spring back and is very airy⏤it proofed too long. Now, if you poke the dough, it's soft to touch, make a small indentation and springs back well leaving behind a small indentation⏤it's ready!
- Punch the dough down. Now the dough is ready to be shaped and used as you wish. Or store in the freezer to use another day.
Notes
For best results use a scale for this recipe.
What to do if the dough is too sticky? You may find the dough is so wet, sticky, and it's really hard to remove it from your hands.
This is ok, don't fret! Let it rest for 5-10 minutes. Then use the spatula to remove the dough onto a lightly floured surface. Apply a small amount of oil to your hand a briefly knead the dough, and shape it into a large ball.
When making this recipe for pizza or man'oush.
I recommend using 2 parts bread flour and 1 part of 00 flour. This mixture of flour has higher gluten proteins and will result in chewier crispy pizza dough. When using the all-purpose you'll still have great results with pizza and man'oush but if you want to take it to the next. Then give the mixed flour a try.
This recipe will yield
- 1 really large pizza or 2 medium pizzas.
- 6 manakish (large)
- 12 manakish (medium)
- 6 Turkish pide
- 18 mini pizzas or mini man'oush
Recommended Products
As an Amazon Associate and member of other affiliate programs, I earn from qualifying purchases.
Nutrition Information:
Yield:
12Serving Size:
1Amount Per Serving: Calories: 245Total Fat: 1gSaturated Fat: 0gTrans Fat: 0gUnsaturated Fat: 1gCholesterol: 0mgSodium: 180mgCarbohydrates: 51gFiber: 2gSugar: 1gProtein: 7g



Leave a Reply